Showing posts with label sewing. Show all posts

Monday, 1 April 2013

March

So March is done with now too. With the clocks going forward yesterday we're now officially in British Summertime (at least in theory!)


Before I sat down to do this post and compile pictures for it, I felt as though I hadn't really done very much in March. However, now as I look back at all the projects I have worked on, documented in photos, I can see that once again I have managed to pack quite a lot in.

 I've nearly managed to complete a whole blanket (the cathedral blanket), done some sewing, made a scarf and come up with numerous ideas for other projects!

I also have some ambitious plans for April, to try and challenge myself a little bit. I'll explain more in my next post.


I hope you've all had a Happy Easter, and if you're in the UK, I hope you enjoy the rest of your Bank Holiday!

xx xxx xx xxx xx xxx xx xxx xx xxx xx

Sunday, 7 October 2012

Collecting, crocheting and boxie pouches

It has been a heck of a week again for me with my coursework, and that's why its been a little quiet on here lately. I have so much studying to do I don't have much time at all for crafting. Sad, but necessary until the end of November, which isn't long now.

So, this is a bit of a round up of what I have been doing in the last couple of weeks. I normally would split this over a few posts, but I'm condensing due to lack of time!

Crochet hexagon blanket


It feels like ages ago since I first posted on here that I was attempting this. Well, I'm still working on it, though progress feels slow!


I'm taking a modular approach now - rather than making rows and sewing them on one at a time, I'm making clusters of hexagons as kind of modules then fitting them together.

Collecting china

I spotted some lovely cups and saucers on eBay the other week, and had to have them! They are Elizabethan Carnaby - I just love the retro floral pattern and colours on them. They have pride of place on the dresser at the moment. I'm afraid the colours don't show up so well in a photo. I think may favourite is the turquoise purple mix (bottom), though I like the autumnal feel of the orange, yellow and amber mix too (second from bottom)!


Boxie pouches


I discovered a sewing tutorial for these boxie pouches a couple of weeks ago and have since made 2 pouches - I love them! Once you get the hang of it, they are so quick and easy to make. I think every lady and possible all females work colleagues will be getting one of these for Christmas this year!

Sunday, 16 September 2012

Sew Sunday

Today has been a sewing day. If you look through the past posts on this blog, you'll see I'm not much for sewing - more of a crocheter and knitter.

However, I have been wondering for a while about the pull through method of lining a bag (I think that's what its called anyway!). That's where, in order to get a nice neat zipped bag or pouch, you leave a small gap in the lining fabric at the bottom, and pull the exterior out through that gap. Sounds weird doesn't it? Well I always thought so too, but today I plucked up some courage and gave it a go, and to my suprise, it works brilliantly!


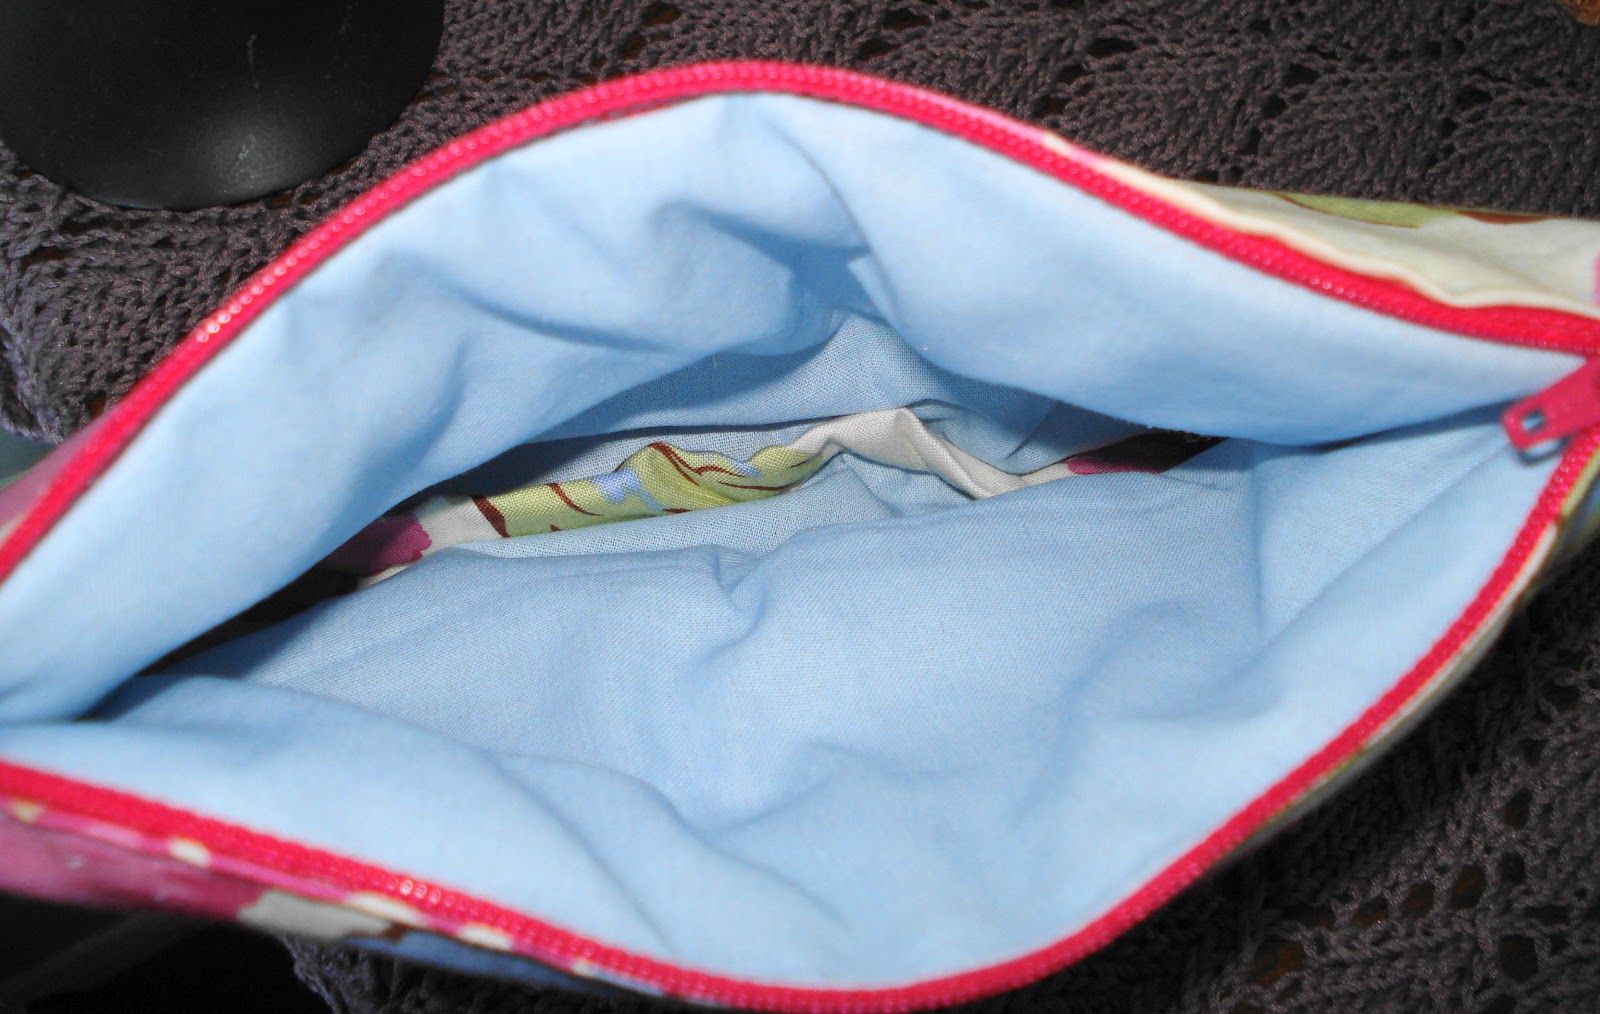
I made a little simple zip up purse - no gusset or sides - I have yet to figure out how to do those well! As you may be able to tell, the zip is a little wonky, but I'm pretty proud of it. This was inspired by a tutorial I found on Pinterest for a box pouch. I wasn't brave enough for the box pouch, but maybe next time! I'm also thinking, crochet purse with fabric lining using this method.

But, the big thing I made today was a fabric tote bag, for carting my bigger crochet and knitting projects around the house. I'm actually pretty proud of this - I actually managed to get the seams on the lining and outer fabric to line up pretty closely, and I'm usuallu rubbish at those kinds of details!


Its sort of reversible if you look at the way the fabrics are arranged - opposing fabrics for the sides and gusset on the lining and out, if you see what I mean.


The fabrics I used for both the tote and the purse were Amy Butler Gypsy Caravan - Almond Velvet Vine and Mocha Hammock Stripe


Well, I'm not sure when I'll be back here - studying is really kicking in now, and its tough going! Data analysis using Excel (sigh - not something I'm good at it turns out!). I'll try and keep up at least one post a week though.

Wherever you are, have a lovely evening and a great week!

Tuesday, 17 July 2012

Feet up, time for a cup of tea (and some crafting!)

The 4pm deadline has passed and I now feel it pretty safe to say that I am done and dusted study wise, at least until September. Which means I have 6 glorious weeks in which to do whatever I like. Oh, apart from going to work that is! Actually I am one of those annoying people who likes their job, so I'm quite happy to go to work!

So, now I can mentally put my feet up (apart from work obviously - I promise to still use my brain when I'm there - at least I'll try to!) and have a cup of tea! And, just in time, my latest eBay Tea Cup purchase came in the post yesterday!


I have to say I think this is absolutely the most gorgeous tea cup I have ever seen!


Also I have been making some little rose scented hearts. I try and make heart shaped scenters periodically - somehow I feel I have never got the shape right, as I'm still practising my machine sewing skills (I'm not very good at sewing the sort of gentle curves required - straight lines and corners I can manage).


However, I think I'm getting there with these. Perhaps I'll perfect it in time to make some Christmas presents.


Sunday, 1 July 2012

Tilda bag

I have the book Tilda Studio as my bedside reading at the moment. I've had a go at making the beauty bag pattern from the book. I've recently discovered the zipper foot attachment to my sewing machine, and that made the process a whole lot easier!. Its amazing how much difference having the right tool for the job makes.


The bag came out pretty well for a first attempt, and only took a couple of hours. The padding made it a little difficult to sew the trims on the side at the end. I had to do that part by hand.


Sunday, 10 June 2012

Patchwork cushions

I made my first attempt at making a patchwork cushion yesterday, and quickly discovered that it's very addictive!

First patchwork cushion


My inital creation came out ok - it fits the cushion pad it was made for, and the lines are fairly straight (for my sewing that's good!). However, I didn't do brilliantly at cross matching the patches in different rows. I'm sure an expert quilter would be appalled.

Second patchwork cushion


On the second attempt I took more care in cutting out my sqaures, and also pressed the seams open before stitching the rows together. This cushion still wasn't perfect as you can probably see from the closeup above, but I think it was a distinct improvement, not bad for a second attempt!


I wonder what it is about patchwork that's so addictive. Is it the thought of being so thrifty and using up all your left over scraps - you get to feel so virtuous! Or is it the opportunity to show your creative flair in matching the colours and patterns together in different patches? I also discovered from my experimentations this weekend that I prefer smaller patches to larger ones. The small patches on the secon cushion I made are so interesting I just can't stop staring at them!


Sunday, 13 May 2012

Birdie wardrobe scenter

I bought some lovely fabric this weekend - one of the patterns from Amy Butler's re-issued Gypsy Caravan range. The name sounds so romantic that alone was enough to attract me, but the patterns really are lovely too!


Anyway, I decided to use a small amount to make a hanging scenter. Feeling brave, I attempted a bird shape. I hand drew the shape outline myself first on paper, and then cut it out to use as a template. I machine sewed the two sides together, right sides facing inwards, leaving a gap along the top of the back so that I could turn the shape right side out and add the filling and the ends of the ribbon.


I used some dried lavendar which I bought from a craft shop for the filling, some pink satin ribbon and hand sewed the opening closed.

I'm quite pleased with the result, and it smells gorgeous!